Pencil For Nail Art
Pencil For Nail Art: Introduction
The pencil, also known as a wax pencil and picker, is used to pick up small embellishments like rhinestones. It’s an essential tool that allows artists to create detailed patterns without fumbling with a tweezer or bare fingers.
Intricate designs with pencil are a popular method for achieving detail. Artists create lines and small details that are difficult to create with traditional nail brushes. In these designs, you see depth using a pencil for nail art.
Which types of Pencils For Nail Art can you use?
Coloured Pencils
Water-based color pencils are used to create intricate designs on nails. They are great for shading, creating gradient effects, and layering color for a unique look.
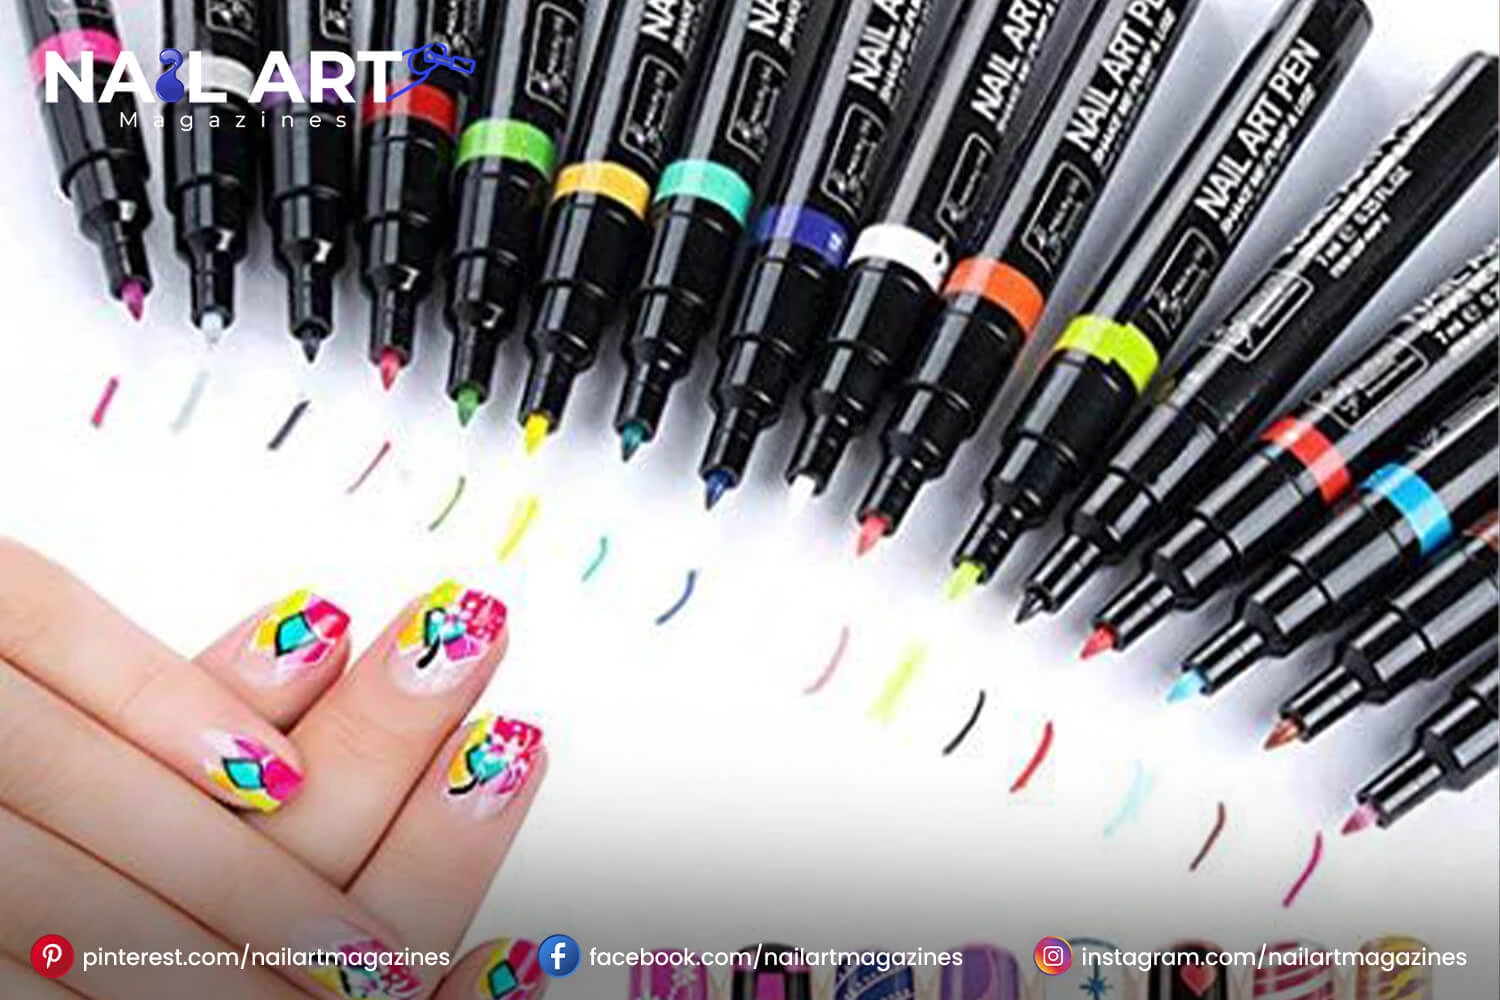
Pencil for Nail Art
These pencils are specially designed for nail art. They are formulated with softer pigments that can transfer easily onto nails. These pencils are great for floral designs and character art.
Graphitic Pencil
Graphitic pencils are specially used to create sketches before filling them with color. They are used less frequently for colors and work well for outline designs.
Watercolour Pencil
These pencils create a watercolor effect on nails by adding water after the design. Watercolor pencils give a soft, blended look that is unique and artistic.
How do you prepare a surface for a Pencil For Nail Art?
Base Coat
Apply a good-quality base coat to protect the natural nail and create a smooth surface for the design. A matte top coat over the base coat can also be beneficial.
Light Colour Background
For a better result, choose a light background, like a neutral nail color. White nude and pastel shades give good results when making pencil designs.
Buffing
Light buffing provides a nail-surface grip for the pencil, but avoid making the design too rough; it can make your drawing uneven.
What are the techniques with Pencil For Nail Art?
Outline Techniques
Use a pencil to outline the design, shapes, and any sketches. Outlines give nail art designs a neat and clean look. Then, you can fill it with the base color.
Shading and Blending
Watercolor and pencil colors can be blended slightly to create an excellent gradient look on the nails. After applying the pencil, mix the pigment with a small brush or dump the cotton swab for a soft look.
Freehand Drawing
With pencil, you can create freehand drawings and detailed designs like floral, geometric, and intricate patterns. You can also use a pencil for small designs without worrying about brush control.
Dotting and Pattern
Pencils are perfect for making small dots and polka dots with the tip of the pencil, especially on a small canvas of nails.
Different ways to Seal the Designs
- When you complete the design, it’s essential to seal it with a top coat. Using a high-quality top coat can seal and protect the design, increasing its longevity.
- With watercolor and soft pencil design, apply the top coat gently, then avoid the soaking.
Gel top coats are durable and can be cured with UV lights, giving them a glossy shine and long-lasting finish.
What are the popular designs with Pencil For Nail Art?
Floral Nail Design
We can create small flowers, petals, and leaves with pencil or water nail art. You can also make a soft look with pastel or neutral colors. Use a light shade for a gradient look in petals to add depth.
Minimalist line Art
Minimalism means simple designs like signal lines, geometric shapes, and abstract faces. Minimalist designs give you versatility and match any outfit. A geometric pattern on a matte background gives a modern look.
Cartoon and Character Art
Draw cartoons, cute animals, and face characters with expressive eyes, features, and shading with pencil. You can outline the character with a dark pencil, fill it in, and apply a top coat for a professional look.
Galaxy and Starry Nights
You can create a starry night and galaxy theme by blending blue, purple, and pink with white pencils and adding dots for stars. You can use metallic colors for stars and galaxies to create an extra spark.
The realistic look of feathers and leaves with Pencil For Nail Art
Pencils for nail art give you a realistic look. You can sketch feather strokes and leaf patterns. Pencils make it easier to achieve these designs. Add veins in leaves and or fine lines in feathers.
Water Colour Effect
Watercolor pencils are ideal for creating a soft look. We can draw pencils, blend them, and spread the colors slightly, and can use pastel shades and small shapes like hearts and flowers to create these effects.
Gradient and Ombre
We can apply two or more shades with colored pencils on the same nail to create a gradient effect. It is an excellent way to transition or a sunset look. When you start blending, then, start with light pressure, then build color intensity.
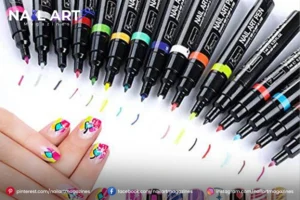
Tips: Pencil For Nail Art successful
Prep your Nails
Start with clean, dry nails and protect natural nails with a base coat and create a smooth canvas for design.
Choose the Right Pencil
Coloured Pencil
Soft color pencils give you a pigment easily
Graphite Pencil
This pencil is used for shading and outlines. They are vibrant but great for intricate designs.
Watercolour Pencil
If you want to smooth blending, then choose a watercolor pencil.
Sharpen the Pencil For Nail Art
To create intricate designs or fine lines, keep the pencil sharp. A dull pencil will not give you fine results.
Experiment with different pressures
Apply different pressures to transfer the pigment; light pressure creates soft lines, and total pressure makes bolder strokes. If you use a matte top coat, then a pencil gives you better results without slipping.
Conclusion
Pencil for nail art is an exciting way to create intricate designs if you are not using brushes. Nail artists can also experiment with fine lines and shading to create a unique and creative look. You get successful designs with pencil nail art with the top coat application, and using proper techniques gives an endless possibility for creativity.

